This post originally appeared on Newswire.ca
A digital media kit or campaign microsite is a handy way to share content related to a news event or marketing initiative when you don’t have time to get onto the development roadmap for your corporate website. With the right partner, creating one of these sites can be easier than you ever imagined.
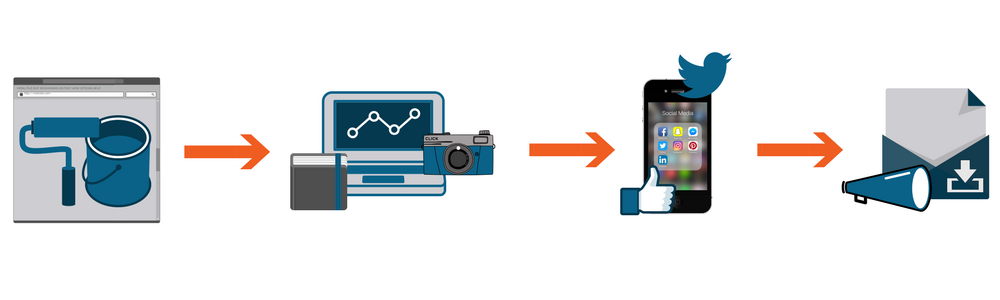
Take CNW’s Content Centre for example. This is an all-in-one service with a team in place to design, build, host and distribute your microsite in a matter of days. It requires zero web expertise and only a little bit of your time. Most of your effort is spent gathering the necessary components together and uploading them to a form. Here’s how you can expect the project to go:
Design phase
1. Choose a template style
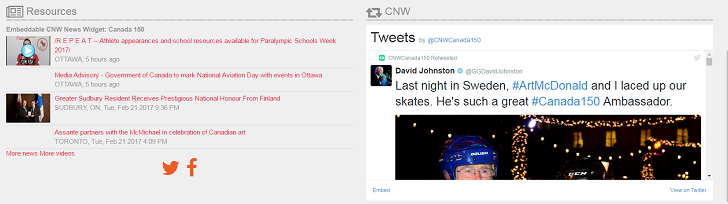
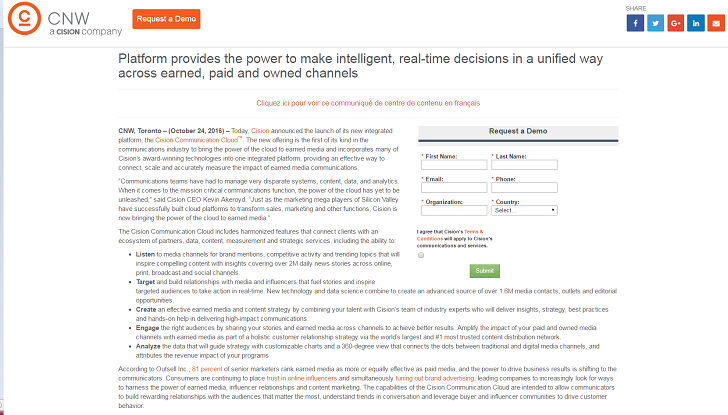
As you can see from CNW’s own Content Centre releases, a digital media kit can take many forms, and is often populated with news release copy.
The Content Centre team will ask you to choose one of two template designs. The default, or Hero design features a large image at the top of the page and a gallery of multimedia content in the middle of the release. The Hero sidebartemplate features all of your text of the left-side of the page and all multimedia content on the right.
If you want to add a widget (like your brand’s Facebook page newsfeed) or a form-fill list (a way to collect contact information), it’s best to let the team know ASAP so that these can be built in and sized properly alongside your content.
2. Does it need to look like your corporate website?
Depending on the nature of your project, you may have complete design freedom or you may need to keep it close to the corporate style guide. Whether you will be using brand colours or something new, be sure to provide colour information in RGB format as that will look best online.
Most brand style-guides account for a standard font for headings and another for body text. Make sure you share both with your designer (along with the rest of your brand style-guide) if available. If you don’t have a style guide, try to use a sans-serif font for any body text, as it is better suited for web reading.
Content phase
3. Page copy
A news release is often the central component to an online media kit – or a close derivative of a news release. (Looking for help writing your news release? Start here.)
Consider whether your microsite copy will differ from your news release and how. It’s best to keep your content concise so decide if there are some parts of a news release that can be removed (boilerplate, contact information, etc.) Be sure to proofread the copy and then have someone else take a look. Web designers are multi-talented but they’re not focused on spotting your typos – that’s on you.
4. Logo files
Make sure your logo file is up-to-date and in high resolution. CNW’s Content Centre team recommend logos be no smaller than 200 dots-per-inch (dpi). Try to save your logo in .EPS format as it will have a transparent background which is easy to drop into any layout.
5. Images for your hero and media gallery
Your media gallery assets should have a minimum resolution of 300 dpi. A header/hero image should roughly be 2700 x 1000 pixels (px). Ask your designer if they can add text over your hero image for added interest, or do it yourself using a program like Photoshop or Canva in advance.
Make sure you also include captions for your images so readers will know what (or who) they are looking at. You must also decide whether these images will be available for download from your microsite. If so, be sure to save your assets under a brief but descriptive file name.
6. Video: use ‘em if you got ‘em!form
CNW’s Content Centre team prefers video formats in H.264-encoded MP4 files, which provide optimal viewing for web distribution. If that doesn’t work for you, consider saving your file as .flv, .wmx, .mov or as a YouTube URL. As with images, provide a brief 200-character caption to entice your viewers. Consider making your videos available as well.
7. What is your call-to-action?
What is the ultimate goal of this digital media kit? In my opinion, the best feature of a digital media kit is the ability to include a measurable call-to-action. If you are seeking to attract registrants, for example, include a “Register Now” button that links to your online sign-up form. Others could be “Download Now”, “Order here” or “Request a Demo” (you get the idea). Be sure the buttons connect to something — a direct connection to your e-commerce site or event registration page, for example.
You can also save your readers a click by embedding a sign-up form right onto your media kit! Doing this will allow you to have two calls-to-action: one in the top left-hand corner where your company logo sits, and a form within the body of your content or alongside your social media channels. If you don’t have the means to provide your own form via HTML, don’t sweat it! The Content Centre team can create a form for you or integrate it with your Marketo marketing automation software.
Since it exists online, prepare your digital media kit for a broad audience – journalists, investors, customers, employees – anyone seeking information about your company who may discover this page in search.
8. Include useful links
Include hyperlinks additional resources or supporting documents such as product sheets, PDFs, and infographics. TIP: When your designer makes the site available for preview, test all the links to make sure they work correctly.
Social Media
9. Make this easy to share
As with all web pages, your digital media kit should connect to your social accounts. Before it goes live, make sure each of your social platforms has had some recent activity. The last thing you want to do is drive your audience to a dormant account.
On that note, you’ll want to leverage these social accounts to draw attention to your new microsite once it’s live. Draft your posts in advance so that you’re ready to go, making sure to leave enough character space for the link. TIP: Don’t schedule any posts until the new site is live.
Distribution
10. Do you have a specific time for go-live?
If your microsite is supporting a major announcement you will want it to go live at the same time as the news release. Customers using CNW’s Content Centre microsite receive a wire-issued news release as part of the product bundle, so CNW Content Centre teams and CNW News Centre teams are accustomed to coordinating on the timing of distribution. Your web designers will be able to give you the microsite URL in advance so you can include it in your news release.
Give yourself plenty of time between completion and distribution to accommodate for the unforeseen!
11. DON’T FORGET THE FRENCH!
If you are communicating in Canada, you’ll want to consider a French-language microsite as well. Don’t forget to translate photo captions, video titles/subtitles, and landing page/form copy.
Most Recent Posts
Cision Blogs Topics
-
Communications Best Practices
Get the latest updates on PR, communications and marketing best practices.
-
Cision Product News
Keep up with everything Cision. Check here for the most current product news.
-
Executive Insights
Thought leadership and communications strategy for the C-suite written by the C-suite.

About Melissa Meyer
Melissa Meyer is a Coordinator of Customer Marketing at Cision, where she helps clients shine by sharing their communications success stories. You'll find her talking about all things PR, pop culture and basketball on Twitter: @_MelissaMeyer.